I once gave up trying to install Stable Diffusion locally. CUDA version doesn't match, Python version doesn't match, something conflicts with torch... After staring at error messages for 3 hours, I just went "forget it, I'll do it later" and turned it off.
Then I saw a post saying you can use Google Colab. It works right in the browser and they lend you a GPU for free? I tried it half-doubting, and it actually worked. It took less than 30 minutes to get my first image. The 3 hours I wasted on local installation felt pretty pointless.
This post is a summary of the process I followed back then. I've added some of my own mistakes and tips.
First, a Quick Look at What Stable Diffusion Is
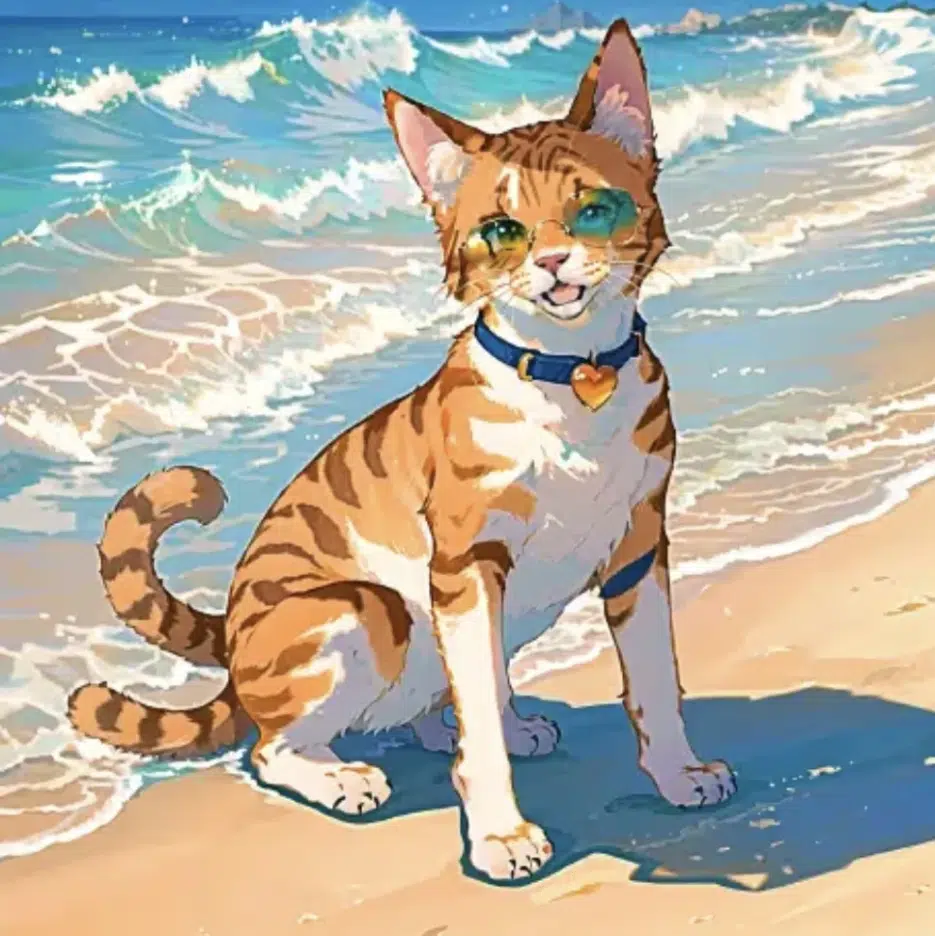
It's an AI that generates images from text. Type "a cat wearing sunglasses on the beach" and it actually generates that image.
As for how it works... honestly, I don't know the details either. From what I understand, it starts with a completely blurry image and gradually makes it clearer. Kind of like applying sharpen 100 times in Photoshop? Of course, it's much more complex in reality, but as a user, that's about all you need to know.
The important thing is that the results vary depending on the prompt (text input). Even with the same "cat," you get completely different images depending on how you describe it.
Why Use Google Colab
Because local installation is a hassle. That's really the biggest reason.
Colab is a free cloud environment provided by Google where you can run Python code directly in your browser. And they lend you a T4 GPU for free. To run SD locally you need a graphics card, but with Colab you're just borrowing someone else's GPU.
There are downsides too. The free version has usage time limits, and if you're idle too long, the connection drops. I once left code running and went to grab lunch, only to come back and find my session was gone. But for learning purposes, it's more than enough.
Actually Following Along
1. Go to Colab and Create a New Notebook
Go to colab.research.google.com and click "New Notebook."
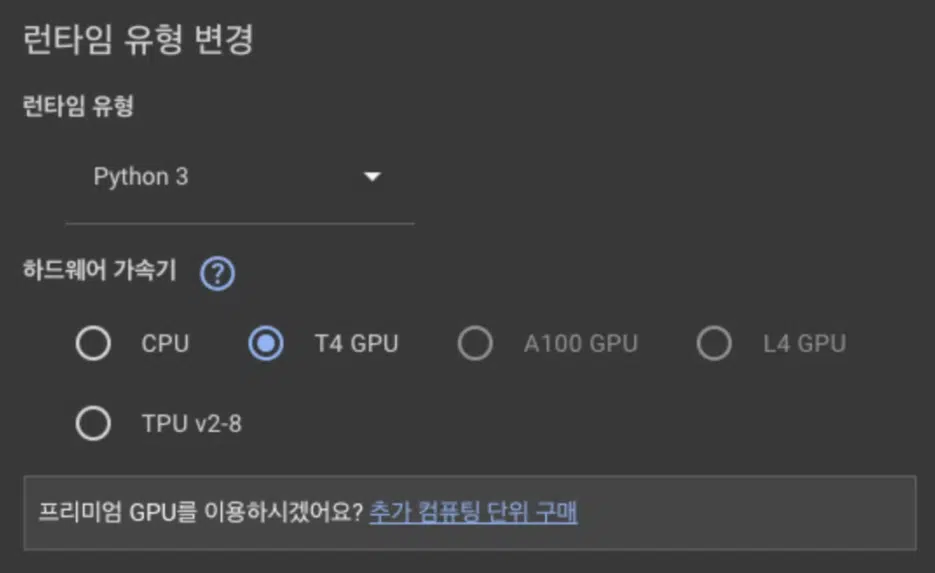
2. Switch to GPU — Don't Forget This
Select Runtime > Change runtime type > T4 GPU.
The first time, I ran the code without changing this and it took over 5 minutes to generate a single image. I searched "why is this so slow?" and it turned out I hadn't set up the GPU. The difference between CPU and GPU is huge. After switching to GPU, it was done in 10 seconds.
3. Install Libraries
Paste this in the first cell:
!pip -q uninstall -y peft
!pip -q install -U diffusers==0.29.0 transformers==4.46.3 accelerate safetensors
After it finishes, make sure to click Runtime > Restart session.
I struggled with this at first too. I installed everything but didn't restart, and got errors when trying to import later. Something seemed to be conflicting with the packages, but restarting fixed it. Just think of it as: always restart after installing.
4. Load the Model
In a new cell:
import torch
from diffusers import StableDiffusionPipeline
from IPython.display import display

device = "cuda" if torch.cuda.is_available() else "cpu"
print("Using:", device)

pipe = StableDiffusionPipeline.from_pretrained(
    "stabilityai/stable-diffusion-2-1-base",
    torch_dtype=torch.float16 if device=="cuda" else torch.float32,
    use_safetensors=True,
    safety_checker=None,
)
pipe = pipe.to(device)
If it says Using: cuda, the GPU is working properly. If it says cpu, go back to step 2 and check your GPU settings.
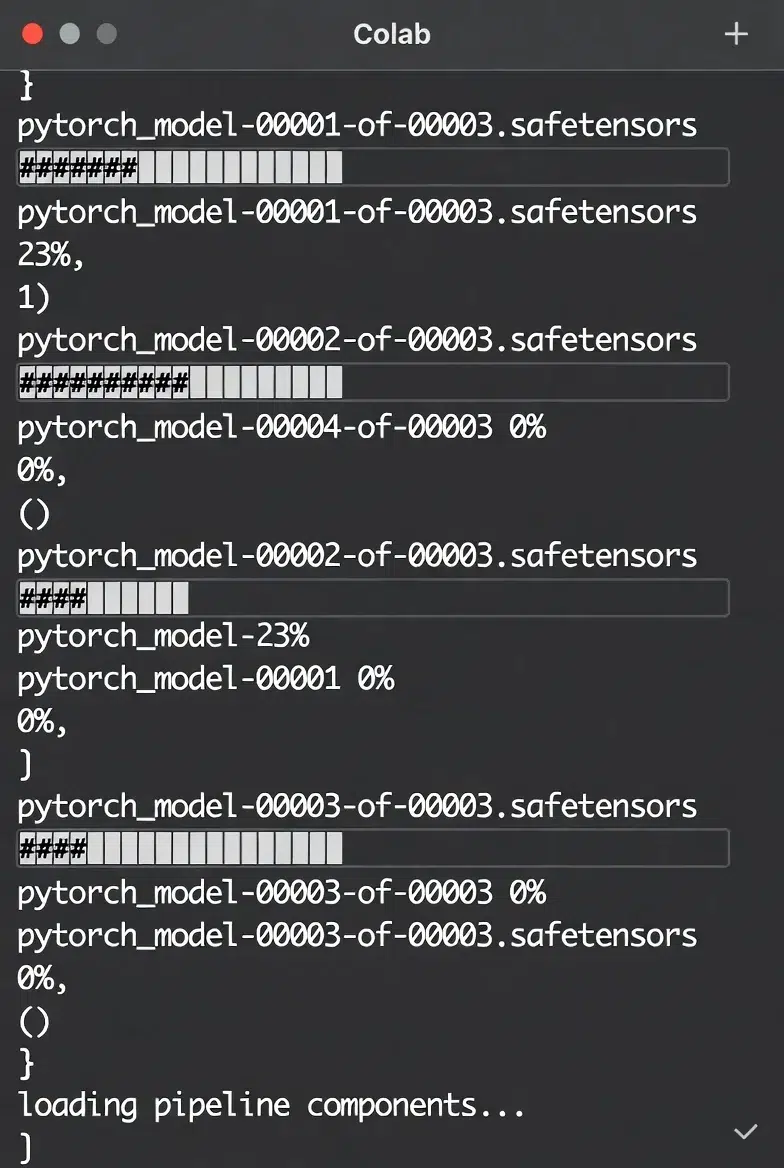
The model download takes a bit. Mine took about 2-3 minutes. Just watch the download progress bar fill up.
5. Finally, Generate an Image
prompt = "a cat wearing sunglasses on the beach"
image = pipe(prompt, num_inference_steps=25).images[0]
display(image)
image.save("output.png")
Run it and you'll actually get a cat wearing sunglasses. I laughed a bit when I first saw it. It was also fascinating that text I typed turned into an image.
prompt = "a cat wearing sunglasses on the beach"
negative_prompt = "blurry, low quality, distorted, ugly, bad anatomy"

image = pipe(
    prompt,
    negative_prompt=negative_prompt,
    num_inference_steps=30
).images[0]
Adding blurry definitely makes things sharper, and adding bad anatomy reduces things like cats with 6 legs. It's not perfect, but there is a difference.
Fixing the Seed
When you want to reproduce the same image with the same prompt:
generator = torch.Generator(device=device).manual_seed(42)
image = pipe(prompt, generator=generator, num_inference_steps=25).images[0]
If the seed number (42 here) is the same, you get the same image. This is useful when you want to compare results while slightly tweaking the prompt.
Changing Image Size
The default is 512x512, but you can change it:
image = pipe(prompt, height=768, width=512, num_inference_steps=25).images[0]
But larger sizes use more VRAM and might cause errors. On free Colab, 512x512 or 768x512 seems to be the safe range.
Problems I Ran Into
"CUDA out of memory"
This means the GPU is out of memory. I got this when I bumped the image size to 1024.
Solutions:
- Reduce the image size (to 512x512)
- Restart the runtime to free up memory
- Or just wait and try again (sometimes it works)
Images Coming Out Weird
Like 6 fingers, or melted faces. SD isn't perfect yet.
Writing more specific prompts helps:
- ❌ "a person"
- ✅ "a young woman with short black hair, front view, simple background"
But sometimes weird stuff still happens. Just regenerate.
Session Disconnects
The free version of Colab disconnects if you're idle for a while. Having to reload the model is annoying.
That's why I save important images right away. Use image.save("filename.png") and you can download them from the Colab files tab.
This Isn't the End
Once you've got the basics down in Colab, you can try these next: